Table of Contents
ToggleA Lennox air conditioner is a solid investment, but like any HVAC system, it won’t run efficiently without regular upkeep. Dust clogs coils, filters trap allergens until they’re saturated, and refrigerant lines collect debris. Skip maintenance for a season or two, and you’ll notice higher electric bills, uneven cooling, or worse, a mid-July breakdown that costs twice what preventive care would’ve run. This guide breaks down the tasks homeowners can handle themselves, when to schedule professional service, and how to keep a Lennox system running strong for fifteen years or more.
Key Takeaways
- Regular Lennox air conditioner maintenance prevents up to 35% efficiency loss in evaporator coils and can save $60–$180 annually on energy costs.
- Monthly tasks like filter replacement, outdoor unit cleaning, and condensate drain flushing can be handled by homeowners and prevent 80% of service calls.
- Neglecting maintenance voids Lennox’s limited warranty, which typically requires proof of annual professional service to cover major component failures.
- Spring seasonal prep—including thermostat testing, coil cleaning, and refrigerant line inspection—catches problems before expensive mid-season failures occur.
- Refrigerant leaks, electrical faults, and compressor issues require EPA 608-certified technicians; attempting DIY repairs on these components risks safety and warranty coverage.
- Annual professional tune-ups ($80–$150) paired with monthly homeowner maintenance will keep a Lennox system running efficiently for 15+ years.
Why Regular Lennox AC Maintenance Matters for Homeowners
Lennox systems are designed for longevity, but neglect shortens their lifespan fast. Dirty evaporator coils reduce heat exchange efficiency by up to 35%, forcing the compressor to work harder and draw more amperage. Over time, that extra strain wears out bearings, capacitors, and contactors, the same components that account for most mid-season failures.
Routine maintenance also preserves your warranty. Lennox’s limited warranty typically requires proof of annual professional service to cover major component failures. If you can’t produce service records when a compressor dies in year eight, you’re paying out of pocket for a repair that runs $1,200–$2,500 in parts and labor.
Beyond warranty compliance, clean filters and coils improve indoor air quality. A clogged MERV 8 or MERV 11 filter recirculates dust, pollen, and mold spores instead of trapping them. For households with asthma or allergies, that’s a health issue, not just a comfort problem.
Finally, efficiency matters. The Department of Energy estimates that a well-maintained central AC uses 5–15% less energy than a neglected one. On a system that runs 1,200 hours per cooling season, that’s $60–$180 in annual savings at current electricity rates, enough to cover a filter subscription and a biannual service call.
Essential Monthly Maintenance Tasks You Can Do Yourself
Most Lennox maintenance doesn’t require an HVAC license. Homeowners with basic hand tools and thirty minutes can handle the tasks that prevent 80% of service calls.
Filter Replacement and Cleaning
Lennox systems use either disposable pleated filters or washable mesh filters, depending on the model. Check the filter every 30 days during cooling season, more often if you have pets, live near a construction site, or run the fan continuously.
For disposable filters:
- Turn off the system at the thermostat (not just the breaker, you want airflow stopped).
- Open the air handler access panel. Most Lennox air handlers have a spring-clip or latch-style door on the blower compartment.
- Slide out the old filter. Note the airflow direction arrow on the frame, the arrow should point toward the blower motor.
- Measure the filter frame if you’re buying replacements: common sizes are 16×25×1, 20×25×4, or 16×20×5 (nominal, not actual). A MERV 8 filter works for most households: upgrade to MERV 11 if you need better allergen control, but don’t exceed MERV 13 unless your blower is rated for the static pressure.
- Insert the new filter with the arrow pointing the correct direction, close the panel, and restore power.
For washable filters, rinse both sides with a garden hose until water runs clear, let air-dry completely (usually 4–6 hours), then reinstall. Never run the system with a damp filter, mold will colonize the media in days.
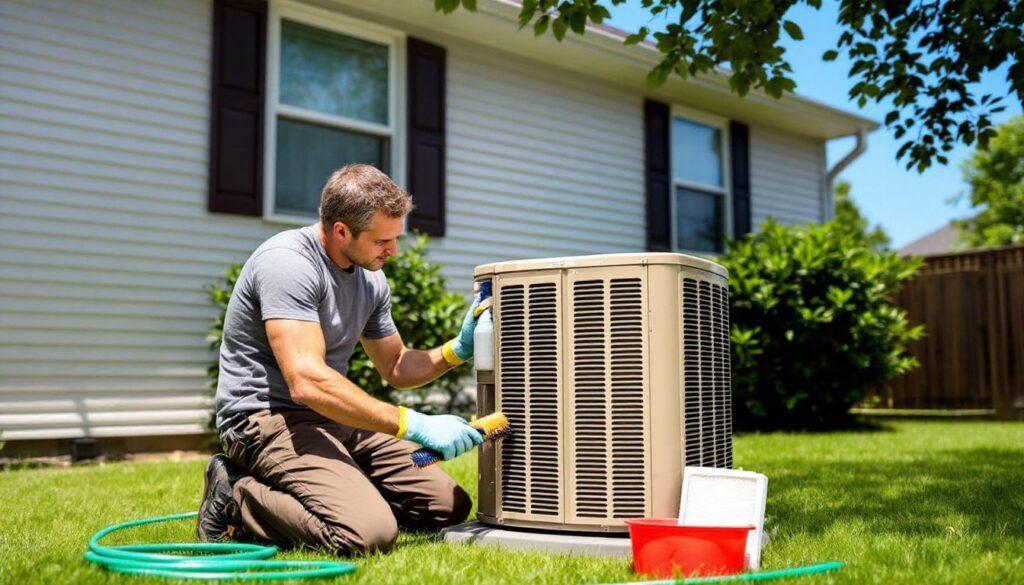
Outdoor unit maintenance is just as simple. Once a month, clear leaves, grass clippings, and cottonwood fluff from the condenser fins. Use a soft brush or a shop vac with a brush attachment, never a pressure washer, which bends the aluminum fins and restricts airflow. If fins are already bent, a fin comb (available at any HVAC supply house for $8–$12) straightens them without causing further damage.
Check the condensate drain line while you’re at it. Lennox systems route condensate through a PVC drainpipe that exits near the air handler. Pour a cup of distilled white vinegar or a diluted bleach solution (1 part bleach to 10 parts water) down the drain pan every month to prevent algae buildup. If the pan is overflowing or the float switch has tripped, the drain is clogged, clear it with a wet/dry vac before the overflow damages drywall.
Seasonal Maintenance Checklist for Your Lennox System
Monthly tasks keep things running, but seasonal prep catches problems before they turn into expensive failures. Many contractors offering annual HVAC inspections recommend scheduling service in spring and fall, though most homeowners can handle spring prep themselves.
Spring Prep: Getting Your AC Ready for Cooling Season
Before the first 85-degree day, walk through this checklist:
1. Inspect the outdoor unit pad.
Lennox condensers sit on a concrete or composite pad. If it’s settled more than 1–2 inches out of level, the compressor may vibrate excessively or fail prematurely. Use a 4-foot level to check: if it’s off, hire a contractor to shim or re-pour the pad. This isn’t a DIY fix unless you’ve poured footings before.
2. Test the thermostat.
Set the thermostat to cooling mode, drop the setpoint 5 degrees below current room temp, and listen for the outdoor unit to start. If the fan spins but the compressor doesn’t hum, you’ve got a capacitor or contactor issue, call a tech. If nothing happens, check the breaker and the disconnect switch near the condenser (often mistaken for a light switch and flipped off accidentally).
3. Clean the evaporator coil.
This is the A-frame coil inside the air handler, just downstream of the filter. With the system off and the panel removed, spray the coil with no-rinse evaporator coil cleaner (available at any home center for $10–$15). Let it foam and drip into the condensate pan, don’t rinse or wipe. Repeat if the coil is heavily soiled. Wear safety goggles and nitrile gloves: most coil cleaners are alkaline and will irritate skin.
4. Check refrigerant lines for damage.
The insulated suction line (the larger, foam-wrapped copper tube) runs from the air handler to the condenser. Look for torn insulation, kinks, or oil stains. Oil around a joint usually means a refrigerant leak, if you spot one, schedule service immediately. Topping off refrigerant without fixing the leak is a waste of money and illegal under EPA Section 608.
5. Lubricate the blower motor (if applicable).
Older Lennox systems use belt-driven blowers with oil ports on the motor bearings. If your blower motor has oil caps or grease fittings, add 3–5 drops of electric motor oil (not WD-40, which is a solvent, not a lubricant) or a single pump of lithium grease per fitting. Most modern Lennox systems use sealed, maintenance-free motors, check your owner’s manual.
Fall maintenance is lighter: replace the filter, clear the drain line, and confirm the furnace kicks on. If your Lennox is a heat pump, reverse the checklist, fall is your cooling-season shutdown, and spring prep focuses on heating components. Homeowners planning major upgrades or facing frequent repairs often consult cost estimators and project planners to budget for replacements.
Recognizing When to Call a Professional Technician
Some tasks require an EPA 608-certified technician, specialized tools, or diagnostic equipment that costs more than the repair itself. Here’s when to stop watching YouTube and pick up the phone.
Refrigerant issues.
If your system is low on refrigerant, it’s leaking, period. AC systems are sealed loops: they don’t consume refrigerant like a car consumes gas. A tech will use a leak detector and nitrogen pressure test to locate the leak, braze the repair, pull a vacuum to remove moisture and air, then recharge to the spec on the data plate. DIY refrigerant recharge kits sold at auto parts stores are not compatible with most residential Lennox systems, which use R-410A (not R-134a), and they won’t fix the leak.
Electrical faults.
If breakers trip repeatedly, you smell burning plastic, or the contactor chatters and arcs, shut down the system and call a tech. Capacitors store 370–440 volts even when the breaker is off, discharging one incorrectly can stop your heart. Contactor replacement is a $150–$250 service call: a house fire from a botched DIY repair costs a lot more.
Compressor failure.
A compressor that won’t start, makes grinding noises, or trips the breaker under load is usually near end-of-life. Replacement runs $1,500–$2,800 including labor and refrigerant recovery. On a system older than 12 years, many contractors recommend replacing the entire outdoor unit instead, compressor labor often exceeds half the cost of a new condenser.
Ductwork issues.
If one room never cools, the problem might be a disconnected flex duct, undersized supply register, or closed damper in a zone system. Crawling into an attic or crawlspace to inspect ducts is doable, but sealing leaks properly requires mastic sealant (not duct tape, which fails in heat) and an understanding of airflow balancing. Many renovation and repair specialists recommend hiring an HVAC tech to perform a duct leakage test before attempting fixes.
Annual professional maintenance.
Even if you handle monthly tasks, schedule a pro tune-up every 12–18 months. A good service call includes refrigerant pressure checks, amp draw tests on the compressor and blower, condensate drain flushing, and thermostat calibration, diagnostics that require a multimeter, manifold gauge set, and training. Expect to pay $80–$150 for a standard tune-up, more if repairs are needed.
Lennox offers service plans through their dealer network that bundle annual maintenance with priority scheduling and parts discounts. If you’re handy enough to handle filters and coil cleaning but want a safety net for the technical stuff, a service plan makes sense. Just confirm what’s covered, some plans exclude refrigerant, ductwork, and thermostat batteries.
Conclusion
Maintaining a Lennox air conditioner doesn’t require a van full of tools or a refrigeration license. Monthly filter checks, seasonal coil cleaning, and a sharp eye for leaks or damage will keep most systems running efficiently for fifteen years or longer. When refrigerant, electrical, or compressor issues arise, calling a certified tech protects both the equipment and the warranty. Spend thirty minutes a month on the tasks you can handle, and you’ll avoid the service calls you can’t.